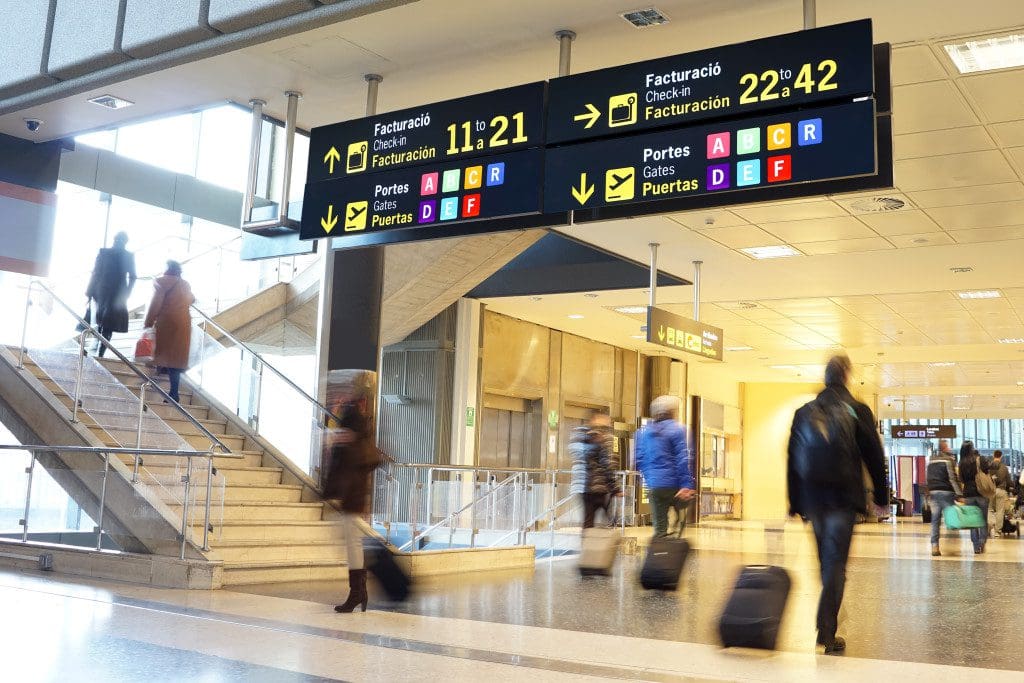
 I spend a lot of time telling people where to travel and why they should go there. Covington Travel’s knowledgeable travel advisors design amazing vacations and efficient business trips all over the globe on a daily basis. Travel is our profession and we are immersed in it, so it’s easy to forget that not everyone has 30 or 40 countries stamped in their passport. I was reminded of this recently when a couple of young-adult first-time flyers ask me, “Which social media site is best to ‘check in online’ – Foursquare or Facebook?” (Hint: neither!)
If you are among the estimated 20-25% of Americans who have never flown on a commercial airplane, I’d like to personally encourage you to pick a place you’ve always wanted to visit and get out of town! To make it easier, here’s a “Flying 101” primer to help first-time flyers navigate the airport like a globetrotting adventurer.
Before You Go
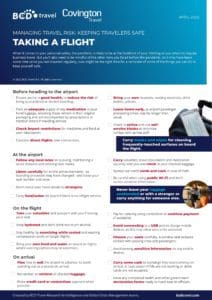
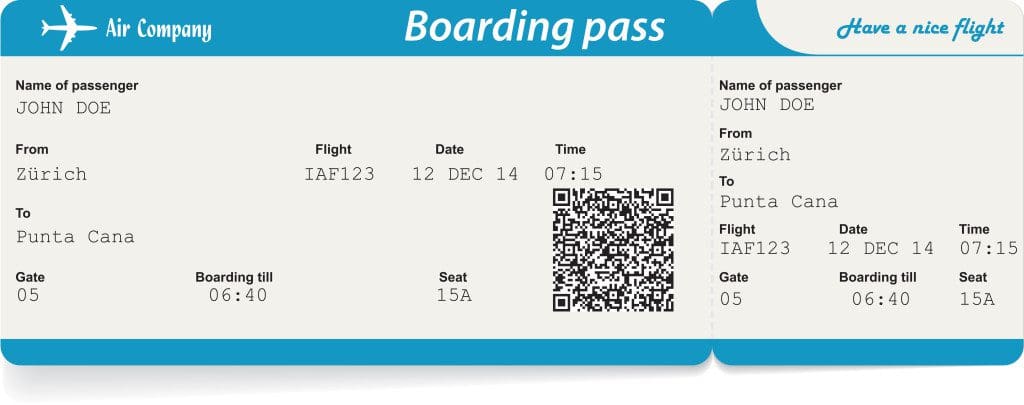 First you need a flight reservation and a ticket, of course. Your favorite travel agent can help you find the best schedule at the best price. Within 24 hours of departure, you need to check in online at the airline’s website. If your seat is not already selected, you can do that at this time. If you will be checking baggage, you can also pay the applicable baggage fees in advance. Travel Maestro tip: Often baggage fees are less when paying online in advance than when paying at the airport.
To board the plane, you’ll need a boarding pass. For domestic flights, you’ll usually have the option to print your boarding passes or send them to your mobile device during online check-in. Sometimes advance boarding passes can’t be issued, but this is no cause for concern. When there are equipment changes or for international flights, paper boarding passes must be issued by the airport ticket counter.
In addition to a boarding pass, you’ll need the proper form of identification. For flights within the U.S., a driver’s license or government-issued ID works. For international flights, you must have a passport. Your passport is official government documentation that you are an American citizen and have all the rights and privileges of such, including the right to re-enter the U.S. from a foreign country. Travel Maestro tip: Most foreign countries require that you have six months validity remaining on your passport to visit them. Some countries require a visa, which is a special entry permit stamped into your passport. Visas are obtained from the Consulate of the foreign country or filed electronically prior to travel.
How to Apply for a Passport in 7 Easy Steps
A word about checked baggage: Be sure you know the baggage allowances of the airline you’re flying. Overweight and oversize fees can be quite expensive. For details visit exploreflightfees.com. Transportation Security Administration (TSA) maintains a list of items prohibited in checked luggage. Only TSA approved locks are allowed on luggage, as they have a right to inspect any checked bags; other locks will be removed. Travel Maestro tip: Never carry anything for another person in your luggage and never leave your bags unattended.
At the Airport
 Arrive at the airport at least an hour before a domestic flight and two before an international flight. When you arrive, get your boarding pass if you haven’t already and check any luggage at the ticket counter. Check the departure boards for the gate number and status of your flight. Travel Maestro tip: First-time flyers should remember to monitor the boards periodically, as information can change and announcements are not always made or heard.
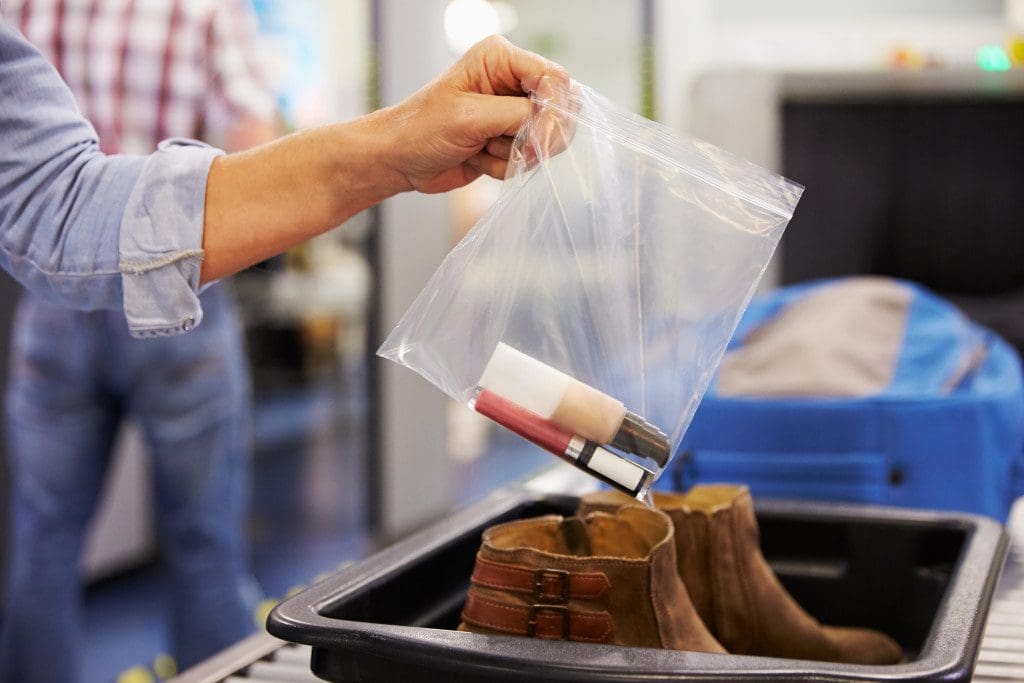
Have your boarding pass and ID available and proceed through TSA security. International flights have an additional pre-departure clearance that takes more time. Be sure to allow enough time for the security process and to walk the long distances of some airports. If you need mobility assistance, airports offer wheelchair assistance or a motorized cart transport. These need to be requested in advance but rarely have a fee.
Airport Security: How to Get Through the Line Faster
After security, check the flight monitors again and proceed to your gate. Each airline has a slightly different boarding process, but your boarding pass will indicate a boarding zone or group. When your number is called, it’s time to show your boarding pass to the gate agent and board your flight.
On the plane, the rows are numbered on the bins above the seats. The A seat is the window seat on the left side (facing the cockpit) with letters progressing alphabetically toward the right side of the plane. Travel Maestro tip: The C seat is usually an aisle seat, so if there are only two seats on the left side, they are often labeled A and C, omitting B.
On Arrival
 If you are making a connecting flight, you do not need to collect your checked baggage; it will be transferred for you. Simply check the flight boards when you deplane and find the gate for your next flight. One exception is when you are coming from an international flight, going to a domestic connection. If customs and immigration screening are at the interim airport, you will claim your bag, go through customs and immigration, and then drop it back with the airline after screening. Procedures vary, so if in doubt, ask a gate agent when deplaning.
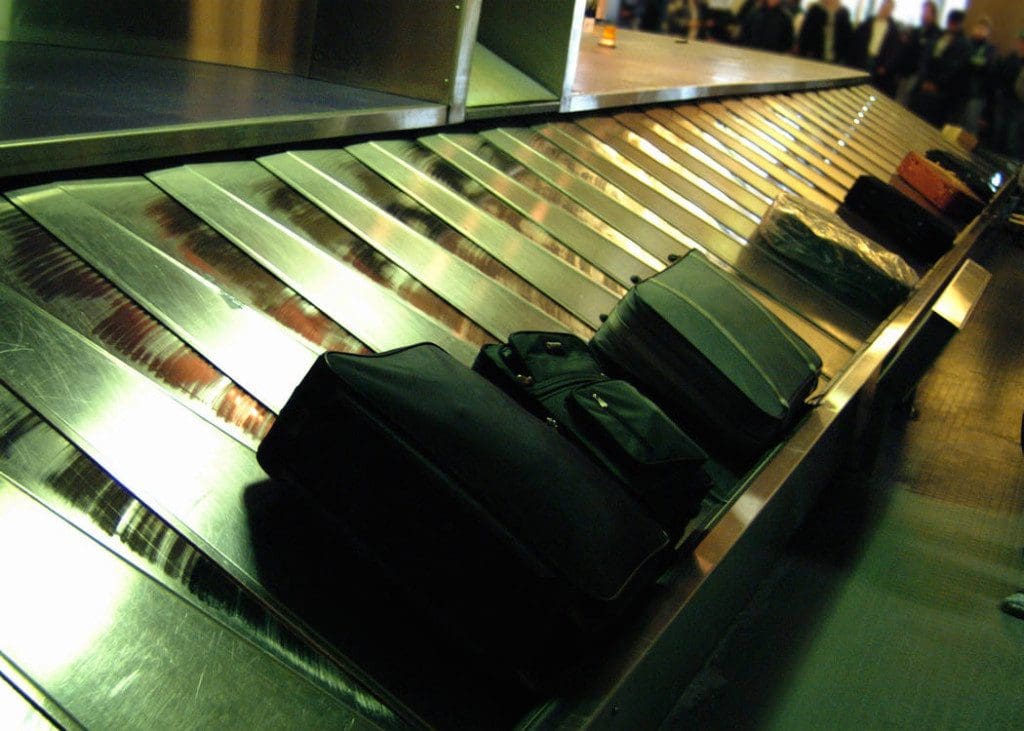
When you arrive at your final destination, proceed to the arrivals hall and look for the baggage carousel with your flight number listed. Travel Maestro tip: A lot of bags look alike. Put an identifying strap or tag on your bag, but still check the name on the tag to be sure you’re leaving with the right one!
With this Flying 101 primer, even first-time flyers can breeze through the airport with confidence. When you’re ready, contact the experts at Covington Travel to write your ticket.

Leave a Reply